DIY Sewing: Do It Yourself!
Our DIY
1.2.3 Sew!
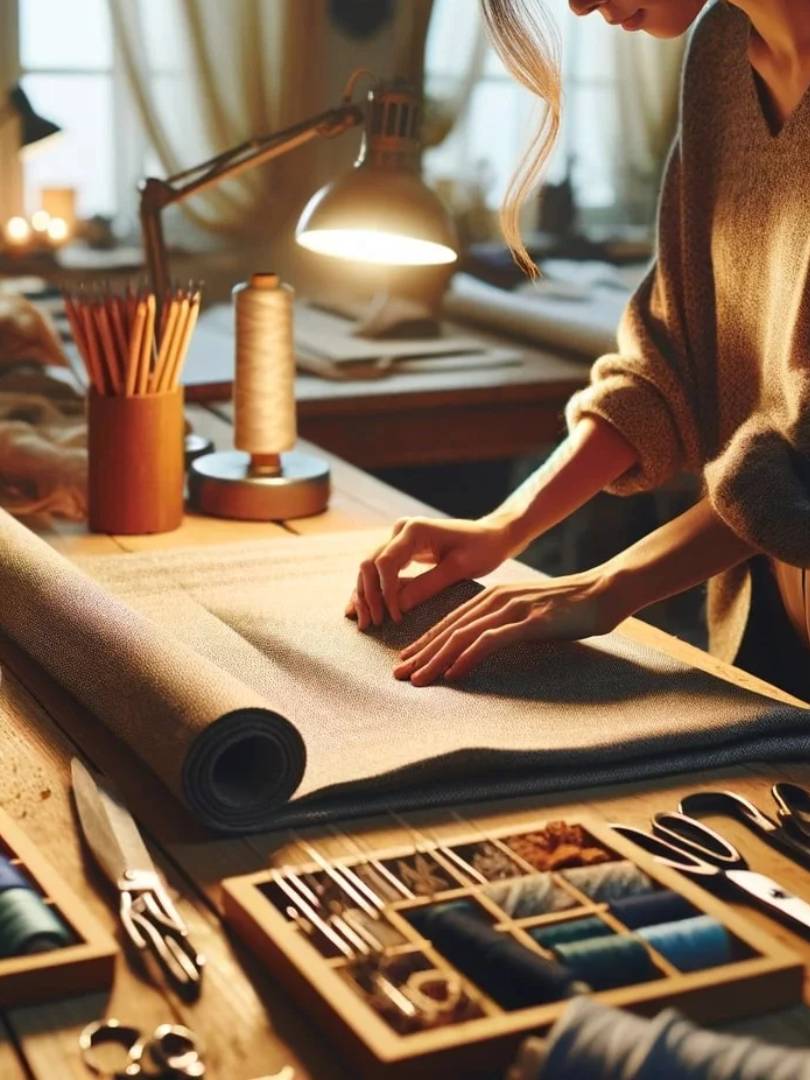
DIY (Do It Yourself) is a creative approach that encourages people to make, repair, or improve things on their own—often using hands-on, craft-based methods.
It’s a rewarding and enjoyable way to express yourself, experience the satisfaction of creating something with your own hands, and learn new skills along the way.
When it comes to DIY sewing, it’s a wonderful outlet for creativity and a chance to share unique projects with a community of fellow enthusiasts. It’s a fun and fulfilling way to bring your ideas to life while gaining confidence and independence in your creative journey.
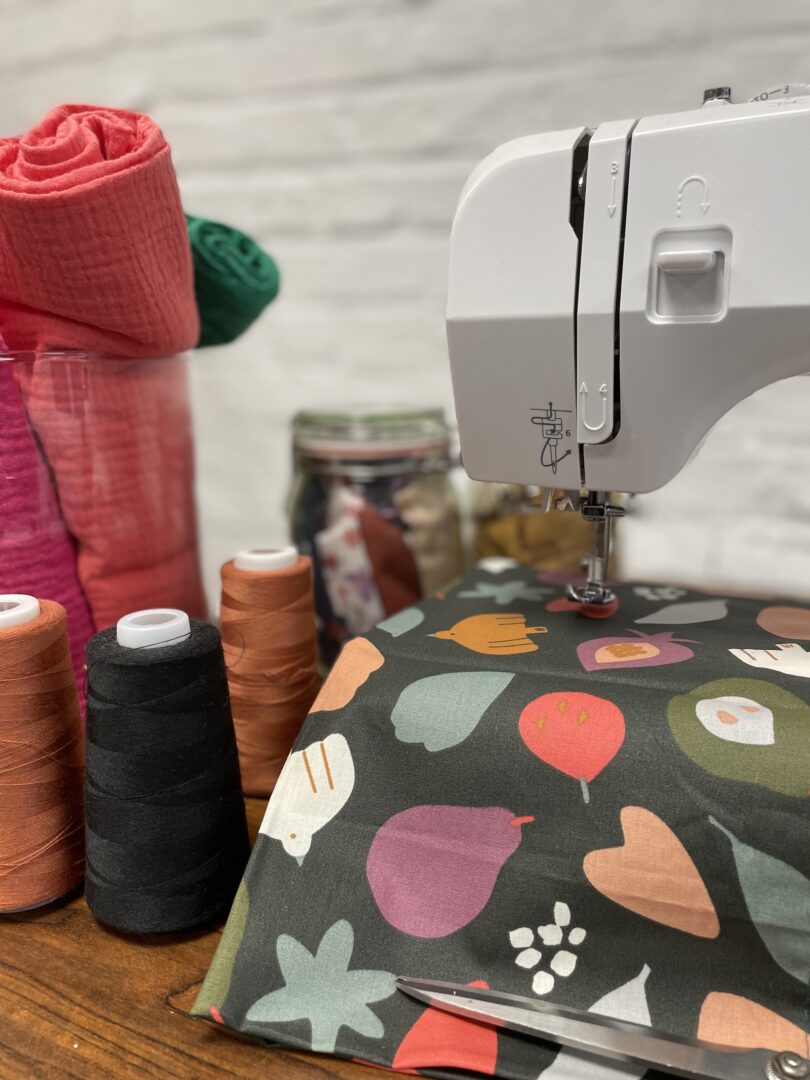
Domotex, your textile supplier, has put together a few sewing projects just for you!
Get your needles ready!
DIY: A Call to Create
DIY Sewing: More Than Just a Trend
DIY sewing is more than a passing trend—it’s a true invitation to creativity, especially for beginners looking to dive into their first easy sewing project.
Practical Sewing for the Home
Imagine crafting unique pieces that not only add charm to your home but are also practical and functional.
Refresh Your Wardrobe with DIY
If you’re looking to revamp your wardrobe, DIY women’s clothing is a great option. There’s nothing quite like wearing a piece you’ve designed and sewn yourself.
Original Sewing Ideas
Looking for a truly original sewing idea? Why not try making a one-of-a-kind accessory or a garment that reflects your personal style?
Sewing Creations for Little Ones
One of the most popular practical sewing ideas is making items for babies. DIY baby sewing projects are fun, fulfilling, and allow you to create clothing and accessories perfectly suited to your little one.
Find Inspiration with Domotex
If you’re short on inspiration, Domotex is here to help. We offer a wide range of sewing project ideas for all skill levels. Whether you’re just starting out or already experienced, there’s always something new to learn and create.
Grab Your Needles!
Let your imagination run free and start your next sewing project today!
DIY Sewing Tutorial: The Redon Bag
The Redon Bag is a practical aid for patients recovering from breast cancer surgery. It discreetly holds a drain connected to the wound, helping to collect lymph and other secretions. The bag can be worn for up to 5 days. Here’s our DIY sewing tutorial to help you make one!
Materials Needed
- Fabric of your choice
- Bag pattern
- Fabric scissors
- Sewing machine
- Thread
- Iron
- Ruler or measuring tape
Our Sewing Tutorial: The Redon Bag
Start by folding your fabric in half, aligning with the grain. Place the pattern on the folded fabric, trace around it leaving a 1 cm seam allowance, and cut along the lines.
Next, assemble the bag: place the two fabric pieces right sides together and sew along both sides using a straight stitch. Then turn the bag right side out and sew a straight hem around the bag’s opening.
To make the strap: cut a 1.05 m x 12 cm rectangle of fabric. Fold it into quarters lengthwise (like a bias tape) using an iron. Then, topstitch along the long edges, 3 mm from the edge.
Finally, attach the strap to the bag by sewing each end of the strap to the inside of the bag.
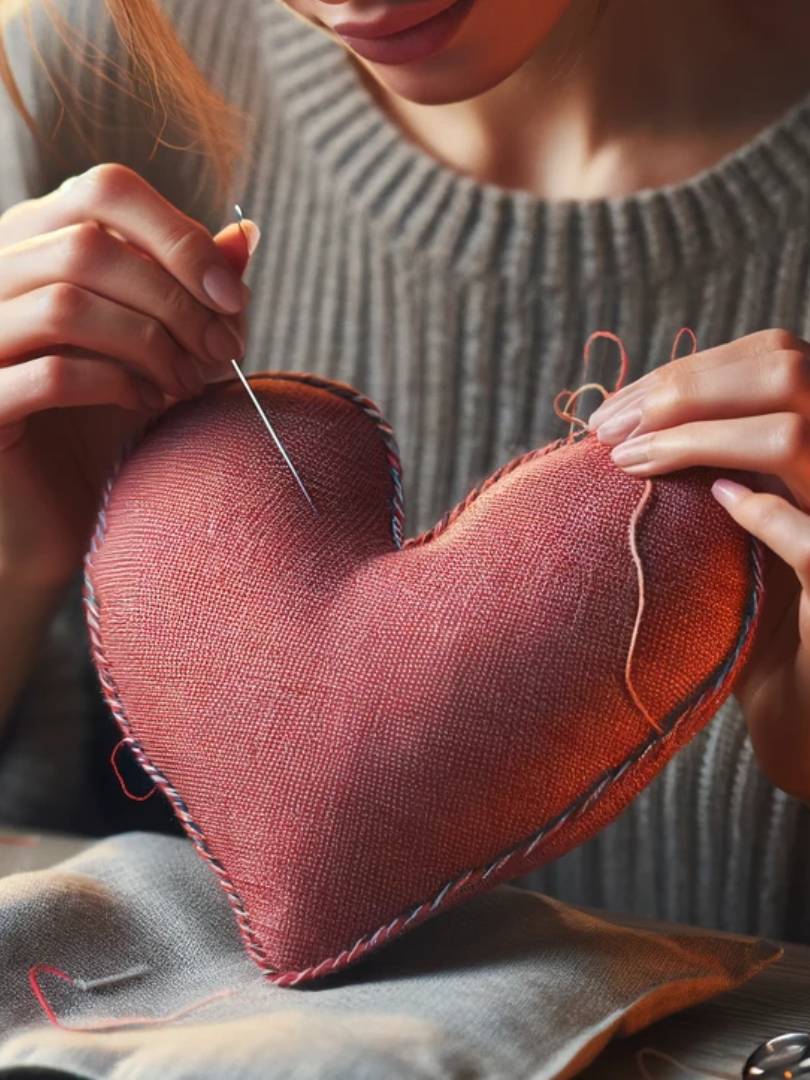
Easy Sewing: The Heart-Shaped Cushion
The Heart-Shaped Cushion is designed to provide relief after breast cancer surgery. Originally created by an American doctor, this cushion offers physical comfort while also symbolizing care and support. Here’s how to make this special cushion—a perfect easy sewing project to get started!
Materials Needed
- Fabric of your choice
- Heart-shaped pattern
- Fabric scissors
- Sewing machine
- Thread
- Stuffing material
- Tape
DIY Sewing: The Heart Cushion
Start by preparing the heart pattern. Join the two parts of the heart along line AB and tape them together.
Then, fold your fabric in half, following the grain line. Place the pattern on the folded fabric, aligning the fold with the dotted line on the pattern. Trace the pattern onto the fabric and cut, adding a 1 cm seam allowance. Repeat to create the back of the heart.
Next, assemble the cushion. Place both heart pieces right sides together and sew around the edge, leaving a small opening on one side. Turn the cushion right side out through the opening and stuff it to your desired fullness.
Finally, close the opening by hand using an invisible stitch.